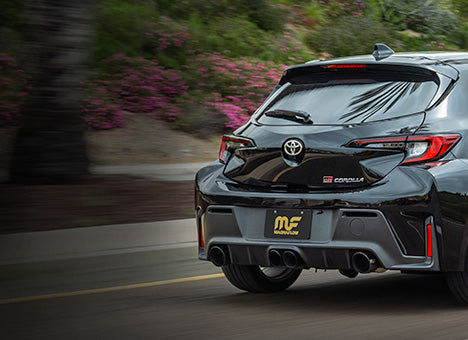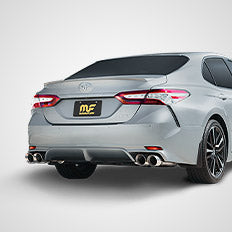
PERFORMANCE EXHAUST SYSTEMS
Developed For The Driven
Explore MagnaFlow’s latest performance exhaust systems that deliver the quality, power and sound you demand.
EXPLORE NOW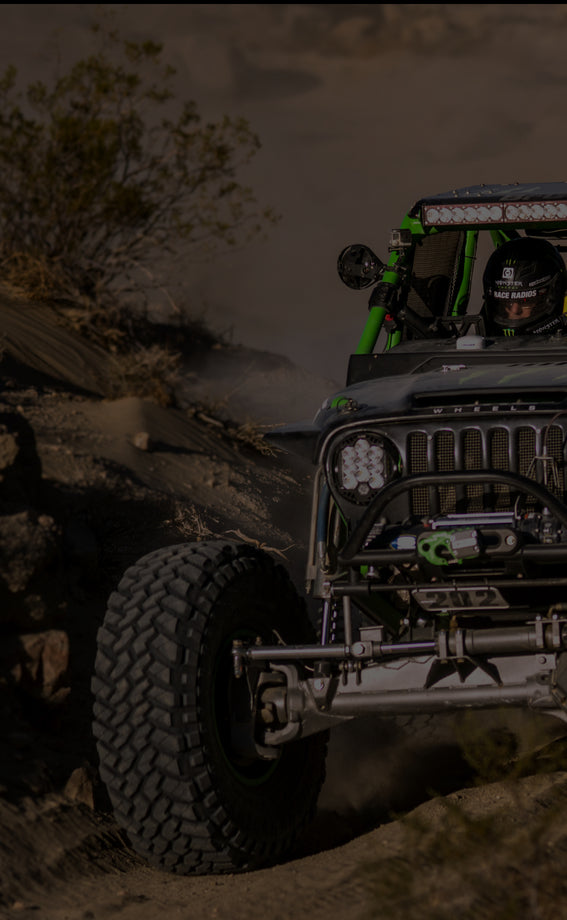
We do not have those parts for your vehicle. Please select another part category.
It is possible we may not have parts for certain vehicles.
We do not have those parts for your vehicle. Please select another part category.
You can find out by inspecting the emissions sticker that is located in your engine compartment.
Select the option that best describes your vehicle. We want to make sure the part fits your specific vehicle so we need a little more information from you.
You can identify your vehicle’s EFN by checking your emission tag located under the hood, on the suspension tower or on the radiator shroud.
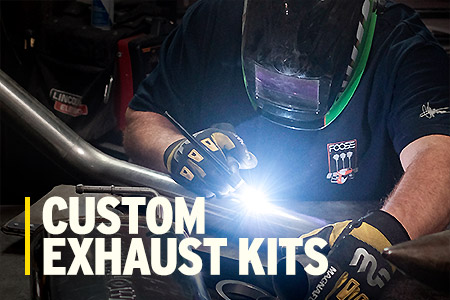
MagnaFlow is your source for everything exhaust™. From cat-back exhaust systems, emissions compliant catalytic converters, performance mufflers to custom exhaust parts, buy the automotive part your vehicle needs.
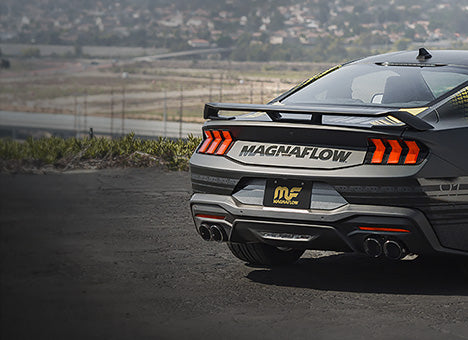
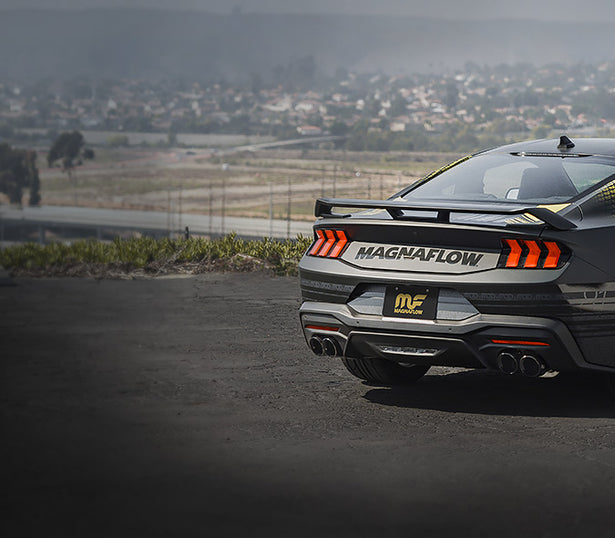

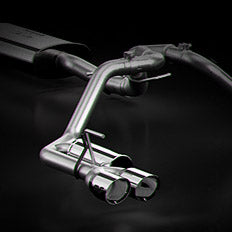
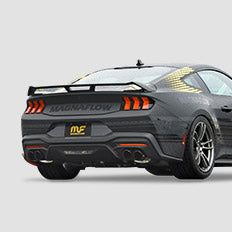
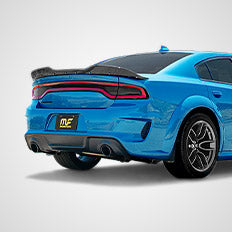
Unleash the power of your new Ford Mustang GT with MagnaFlow's xMOD Series performance exhaust system.
EXPLORE
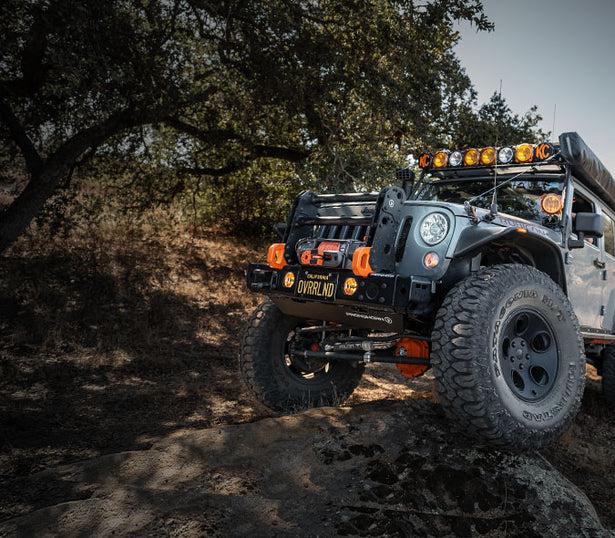
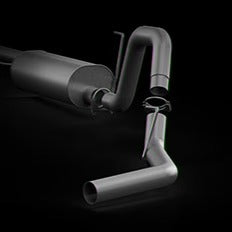
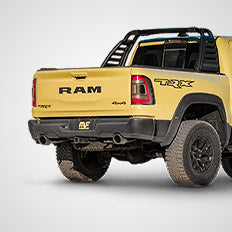
Explore further with higher exhaust clearance and experience the sound of adventure.
EXPLORE

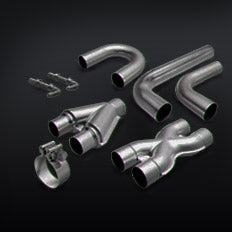
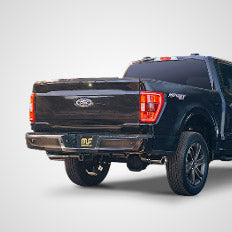
Unleash the performance of your Ford F-150 Raptor or Raptor R with MagnaFlow's xMOD Series
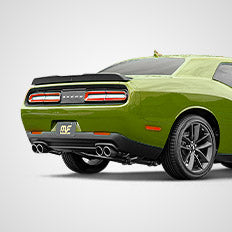
EXPLOREFrom classic American muscle cars to the newest off-road capable rigs, we’ve got you covered. Browse our most popular performance car, truck and SUV exhaust systems to find the ultimate exhaust experience for your ride.

Don't get left out in the dust. Catch up on the latest news, events, featured builds, community rides, new technologies and all things MagnaFlow with our biweekly blog and Team MagnaFlow newsletter.
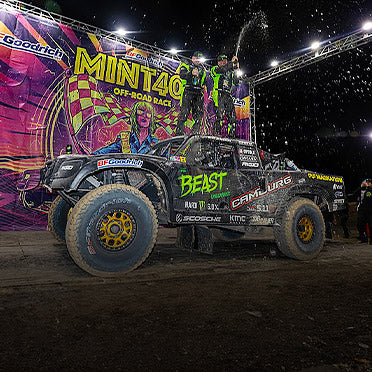
Race tested and race proven is not an empty slogan, Team MagnaFlow Camburg brought home the crown at the 2024 Mint 400!
Continue Reading
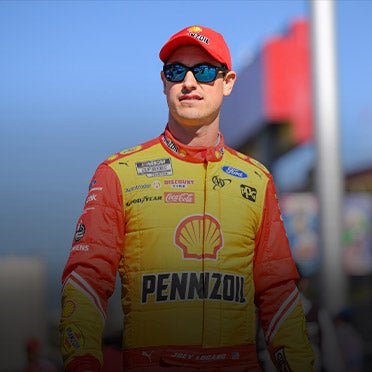
The 2024 NASCAR season is set to kick off this weekend in LA, and as the excitement builds, all eyes are on MagnaFlow Ambassador Joey Logano. A seasoned racer with Cup Series championships in 2018 and 2022, Logano is ready to dive into the upcoming season with full determination.
Continue Reading
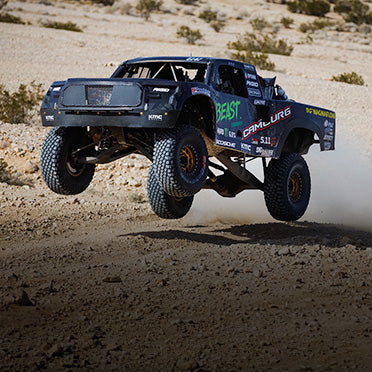
Navigating through the challenging terrain and battling dust, the team never wavered, crossing the line and securing a race finish. With the combined times between both races, the team was crowned the King of the Hammers Desert Challenge T2 Spec truck winner!
Continue Reading
Follow us on Facebook, Instagram, YouTube and Twitter to stay up to date on our latest products, projects, and adventures. Join the conversation and show off your ride with #MagnaFlow for a chance to be featured.